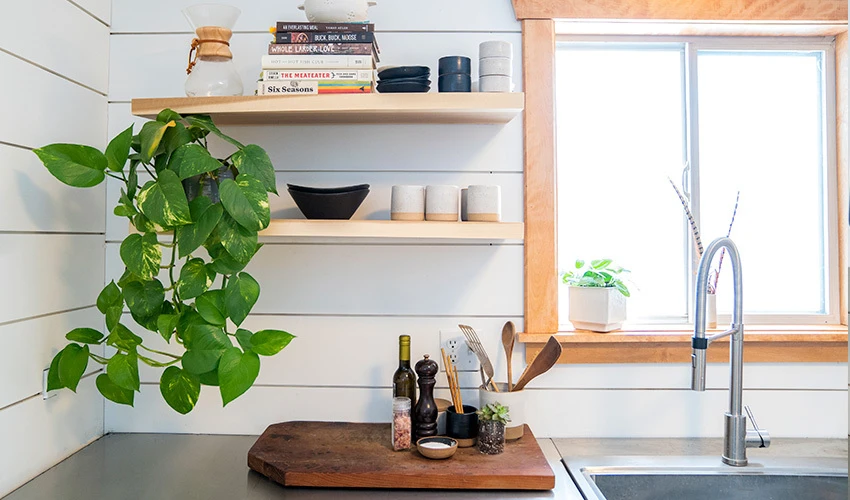
Shiplap is a trending wall treatment that mimics historic shiplap – the horizontal planks on a ship’s exterior. Shiplap can transform any room in your home by providing a beach bungalow or rustic farmhouse look.
Because installing shiplap on walls is such a popular trend, we've gotten a lot of questions about how to do it. We've created this article to help get your home into ship(lap) shape!
Below are the instructions for how to install shiplap correctly. We’ll also share how Neighborly® professionals can help you make this project a breeze with their services and friendly advice.
Shiplap Installation Supplies
As with any DIY job, you need some tools before you can get started. Here are the tools that you’ll need before you can install shiplap on your walls:
- Four by eight-foot sheets of 1/4-inch thick AC plywood (see instructions below for determining how many you'll need)
- Tape measure
- Chalk line (aka chalk box)
- Table saw
- Chop or circular saw
- 80-grit sanding sponge and 400-grit sandpaper
- Paintbrush, roller and roller pan
- Interior paint
- Putty knife
- Stud finder
- Nails – two-inch and finish nails
- Nail gun
- Claw hammer
- Construction adhesive
- 1/8-inch spacers or nickels to use as spacers
- Spackle
- Protective gear – safety glasses, dust mask, ear protection, etc.
How to Shiplap a Wall in 10 Easy Steps
Whether you want to change a room’s ambience or potentially boost your home’s resale value, installing this on-trend paneling only requires basic carpentry skills.
1. Measure the Walls
First, determine how much plywood you need by measuring the length and height of the wall. Multiply those two numbers to get required square footage and add 10% so you’ll have a little extra. You can also divide the wall height by the shiplap board width to determine the number of panels. Here’s a quick example of how this formula works. If you have a wall that is 12 ft. long and 10 ft. high, you need 120 sq. ft. of plywood. Once you add the additional 10% to account for any mistakes, that would be 132 sq. ft.
2. Prep and Paint the Walls
Remove everything from the wall, including existing nails and outlet covers. Use your putty knife to pry away baseboards and trim. Then paint the wall with either a contrasting color or the same color as the shiplap panels. (The gaps between shiplap boards will show the wall color.) Prefer to let a pro handle the painting for you? If locally available, Five Star Painting® will paint the walls to perfection.
3. Cut and Prep the Shiplap Boards
Allow the plywood to breathe (take it out of any packaging and let it sit) for approximately 48 hours. This will minimize how much the plywood will change in size after you put it on your walls. Then carefully measure and cut it with a table saw, parallel to the grain, to create uniform boards that are eight feet long by 5 7/8 inches wide. Lay a few rows out on the floor in the desired pattern to plan the rest of your cuts. To achieve a staggered-panel look, cut end boards that are 1, 2, 3 and 4 feet long. These will be lined up on one side of the wall, with 8-foot boards next to each. Cut end pieces to fit the other end.
If you start to feel like you are getting in over your head or need some expert advice, you can count on Mr. Handyman® if they have a location nearby.
4. Sand and Paint the Shiplap Boards
Use the 80-grit sanding sponge to sand the boards’ edges at a 45° angle and create beveled edges. Paint the boards (including edges and ends) with a paintbrush or roller and high-quality interior paint. Allow the paint to dry completely.
5. Mark Vertical Studs
Use a stud finder to find vertical studs in the wall, and mark them with a chalk line from bottom to top. Don’t have a stud finder on hand? Check out these tips for finding a stud without a stud finder.
6. Draw a Horizontal Chalk Line
To create a visual guide for placing the boards on the wall accurately, use the chalk box to draw a horizontal line six inches above the floor. This allows for a slight gap between the floor and the bottom board, which makes room for the natural expansion of the wood.
7. Attach the First Row of Shiplap
For this step, you can choose to use nails, construction adhesive or both to attach the shiplap to the wall. Start by placing the first board in a bottom corner. Align the board with your chalk line, and use the level to achieve precision. Apply the adhesive to the back of the board and/or use a hammer or nail gun to insert two evenly spaced, two-inch nails through the board and into each stud.
8. Add Coins as Spacers
Place a nickel or 1/8-inch spacer on the top edge of the board you just attached, creating the signature shiplap gap. Once you’ve attached the second row of boards, you’ll be able to move the spacers up.
9. Continue the Process up the Wall
Continue the same measuring, chalk marking, spacing and installing process for the remaining rows on your wall. Once you reach the top, you may need to cut the last row of boards to make them fit.
10. Add the Finishing Touches
Things always look a bit better once you’ve added some finishing touches. Use these tips to apply the perfect finishing touches to your shiplap:
- Fill the nail holes by smoothing spackle on with a putty knife. Skip this step if you are going for a rustic look and prefer the exposed nail heads.
- Use the 400-grit sandpaper to sand the filled nail holes after the spackle dries.
- Use a paintbrush to touch up the paint over the nail holes.
- Install matching baseboards, molding or trim with finishing nails. Check out these crown molding installation tips to guide you.
- Add glass shelving. If Glass Doctor® is in your area, we recommend their gorgeous floating glass shelves to bring subtle flair to your new shiplap wall.
- Update your vent covers. Here are five great ideas for updating your vent covers to go with the new shiplap.
- Want a ceiling to match? Mr. Handyman shares some unique ways of using shiplap, including on your ceiling.
Need Some Extra Support for Your Project?
What could make installing shiplap even easier? The Neighborly family of home service professionals, of course!
FAQs about How to Install Shiplap
Can You Install Shiplap Directly to Studs?
Though not typically recommended, it is possible to install shiplap on bare studs. Check local building and fire codes and your homeowners’ insurance policy to ensure you meet requirements. If you choose this route, insulate between the studs first.
Can You Install Shiplap over Plaster Walls?
If you are working with plaster walls, only install shiplap if the plaster is in fair condition, flat and solid. Instead of using nails, use construction adhesive. Nails can crack your plaster and make shiplap installation unsafe. Apply adhesive to the boards, not the wall, and then hold the boards in place until they stick.
Can You Put Shiplap in a Bathroom?
Shiplap is an excellent choice for upgrading your bathroom. You may need to make some detailed cuts to fit boards around the mirror, sink, etc. Shiplap may prevent easy access to plumbing, so consider getting a plumbing inspection from a reliable plumber like Mr. Rooter before you start the installation process.
You can find more helpful home improvement tips on the Neighborly blog.